WordPress Featured Image Blog Post Divi Size
Table of Contents
-
Introduction
-
What Is a Featured Image in WordPress?
-
Why Image Size Matters in Divi Blog Posts
-
3.1 Design Consistency
-
3.2 Site Speed and Performance
-
3.3 SEO Benefits
-
-
Recommended WordPress Featured Image Blog Post Divi Size
-
4.1 Standard Divi Blog Image Dimensions
-
4.2 Responsive Design Considerations
-
4.3 High-Quality vs. Optimized Images
-
-
How to Set Featured Image Size in Divi
-
5.1 Adjusting Image Size via WordPress Settings
-
5.2 Customizing Size in Divi Theme Builder
-
5.3 CSS and Code Adjustments
-
-
Best Practices for Featured Images in Divi
-
6.1 Use High-Resolution Images
-
6.2 Optimize with Compression Tools
-
6.3 Maintain Consistent Branding
-
6.4 Test Across Devices
-
-
Common Problems and Fixes
-
Tools and Plugins for Image Optimization
-
Conclusion
Introduction
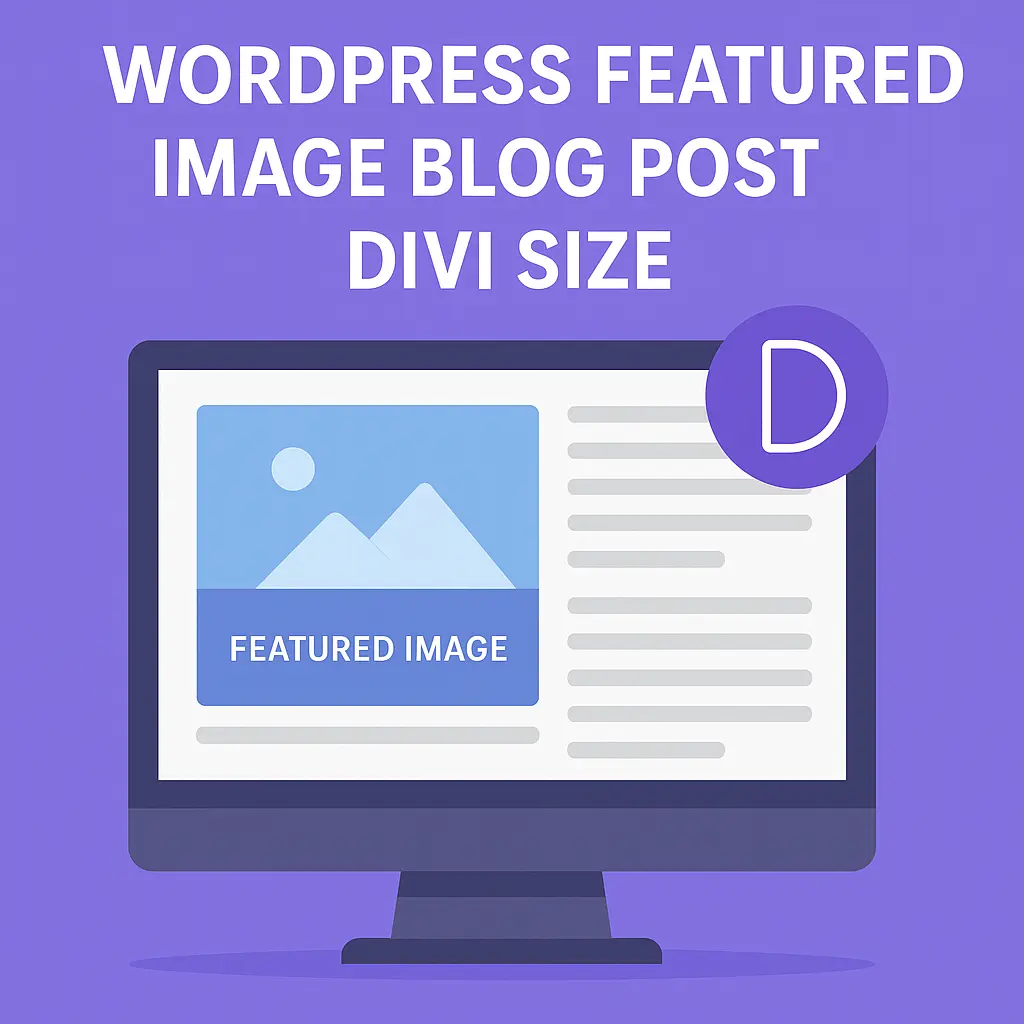
Photos are the initial thing the reader notices in a blog post. In WordPress, feature pictures are the highlight visible feature, which is the representative visual of the entire site and styled social media updates. For users of Divi theme, it is crucial to get the right featured image size. Incorrect sizes will bring down layouts, decrease website speed, or professionalize posts. Selecting the correct dimensions ensures blog posts look constantly across devices. It also boosts site speed, search engine positions, and user interaction. Over the course of this tutorial, we will discover everything about the perfect WordPress featured image blog post Divi size and how to maximize it.
What Is a WordPress Featured Image?
A feature image is the main image that is designated to a page or blog post. It appears on the homepage, archives, and when social posts are posted. Featured images promote branding by giving each post a recognizable visual appearance. Featured images also get people to click as compelling images get people to click on them. Other than looks, featured images improve SEO. With the right file naming, alt text, and schema markup, search engines crawl them properly. For Divi authors, featured images play an important part in blog designs since they determine the appearance of posts in grids, sliders, and modules.
The Importance of Image Size to Divi Blog Posts
Consistency in Design
Images that are too large, too small, or in the wrong format result in cringe-worthy designs. Blog posts in grids or full-width posts are the norm with Divi. If feature images are not the same size, the site design is unbalanced. The right size brings a level of sophistication and professionalism to your blog that makes your brand noticeable.
Site Speed and Performance
Large images have the ability to delay loading heavily. A slow website irritates visitors and boosts bounce rates. By resizing your images to Divi sizes, you minimize file size and increase speed. Quick websites rank higher on Google and retain users longer.
SEO Benefits
Search engines crawl images and text, too. Optimized featured images of the proper size enhance SEO effectiveness. Including descriptive alt text, optimized file names, and schema markup makes images appear in Google Image Search. This enhanced visibility can send more traffic to your WordPress blog.
Best WordPress Featured Image Blog Post Divi Size
Default Divi Blog Image Size
For Divi blog posts, the recommended featured image size is 1200 x 675 pixels. This provides a 16:9 aspect ratio, perfect for both grids and single posts. For thumbnails, 400 x 250 pixels works well. Using these sizes ensures your site looks sharp across Divi’s modules.
Responsive Design Considerations
Not all users view your site on desktops. Tablets and smartphones require responsive image sizes. WordPress and Divi automatically generate smaller versions of your uploaded images. Still, starting with a properly sized featured image ensures consistency across all screen types.
High-Quality vs. Optimized Images
High-res pics are wonderful but perhaps too big. Large files hinder fast websites and use up storage. The ideal is to upload high-res images and then squeeze them for print. That way, you have visual sharpness with quick performance.
How to Set Featured Image Size in Divi
Altering Image Size via WordPress Settings
WordPress also offers you the option to have default media sizes in Settings > Media. Define thumbnail, medium, and large sizes to correspond with Divi’suggested dimensions. This will cause images to scale properly when inserting them.
Size Customization in Divi Theme Builder
Divi’s Theme Builder allows you to customize blog post templates. Featured image display options can be set in the blog module. Grid, full-width, or custom layouts are the options available. Changing these options makes sure images always adjust to the design you build.
CSS and Code Changes
Advanced users can also resize images through the use of custom CSS. You can, for instance, cause Divi blog modules to show featured images of a certain size and height. The use of CSS overrides comes in handy when you don’t get WordPress default cropping.
Best Practices for Featured Images in Divi
Use High-Resolution Images
Pixelated or blurry images mar your website. Load always sharp, high-resolution images that won’t lose their quality when resized. This reflects your work professionally.
Optimize with Compression Tools
Plugins such as Smush, ShortPixel, or Imagify shrink images in size without losing quality. Compression shrinks the size of the file, so it loads faster and runs better. Compress always before or after uploading for maximum performance.
Consistency creates brand identity. Employ the same look across all featured images—i.e., the same filters, colors, or typography. This makes your blog look visually consistent and instantly recognizable.
Test Across Devices
A highlighted image may appear beautiful on desktop but off-center on mobile. Always check the post across a variety of devices to verify responsive display. Testing guarantees images do not appear cropped or stretched.
Typical Problems and Fixes
Truncated featured images within Divi grids are a daily phenomenon. It occurs when images uploaded don’t have the aspect ratio. Resolve it by cropping images prior to upload or changing CSS. Stretched images are typical, typically due to bad width settings. Correct it by modifying Divi module image ratios. Outdated load speeds are typically the result of large files—correct this with compression plugins.Turbid thumbnails are another problem, due to resizing of large images. Upload files of the appropriate size to achieve the best results.
Tools and Plugins Used in Image Optimization
Multiple tools assist in handling featured image sizes inside WordPress with Divi:
Smush or ShortPixel: Optimizes images, compressing them.
EWWW Image Optimizer: Automatically minimizes file sizes.
a3 Lazy Load: Loads images on demand, increasing speed.
Regenerate Thumbnails: Resizes images wrongly when themes are changed.
Divi Blog Extras plugin: Improves blog layouts with improved image management.
These plugins make images appear crisp, load quickly, and fit Divi layouts perfectly.
Conclusion
By the right WordPress featured image blog post Divi dimensions, consistency in appearance, speed, and SEO results is guaranteed. Blog posts appear professional on all devices with default 1200 x 675 pixels. Optimizing with compression tools, consistency in branding, and responsiveness tests enhance outcomes. Featured images for Divi users are not just images—they’re a necessity for interaction, clicks, and conversions. By using these best practices, it is possible for you to create a WordPress blog that is stunning in appearance, fast in loading, and achieves better search engine rankings.

webadmin
WordPress guidance, troubleshooting tips and practical website advice from WP-Buddies.